This guide is to install GPT/UEFI system on pc which have been restored to Legacy MBR System by the user.
Please be careful using this method. This method is for advanced users. I am not responsible if you lose your data. But in any case you do so, please get your pc restored by service centers.
I have a Dell Inspiron 3551 Laptop, When i bought it it has ubuntu preinstalled with UEFI – GPT system. I chose to convert it into Legacy MBR scheme. After this i installed windows and ubuntu dualboot. Here i can only have 4 Basic Partitions . But GPT support maximum 128 partitons. So i experimented and installed my system again in GPT as described in this tutorial. In order to install these you need these things, other than the pc or laptop supporting UEFI bios.
- A 64-bit windows DVD or ISO file (Windows 8 and above).
- An usb flash drive (4 GB or above). – If using iso files.
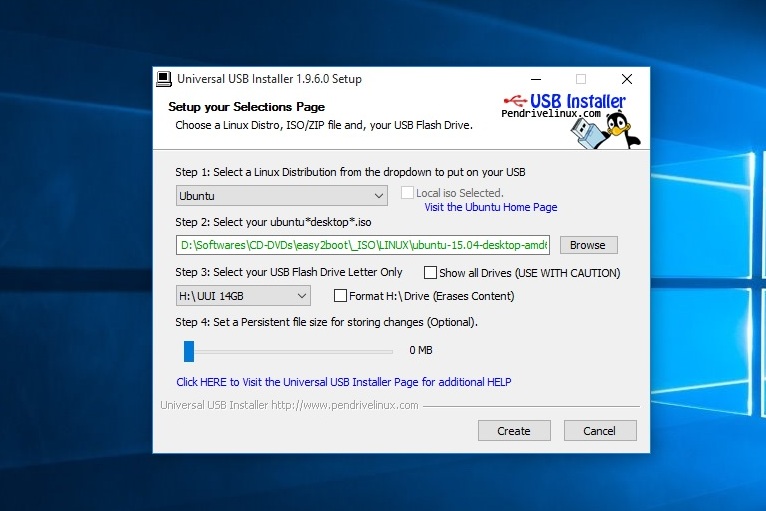
- Rufus (Software for Creating Windows Bootable USB) – If using iso files – or Universal usb creator
Please Note: This Process would erase everything on your hardisk. Your Hardware should support uefi bios and gpt partition system.
STEP 1: Backup Your Data.
We advise you to back up your precious data that you want to secure, because we are about to clean your hard disk and install fresh.
STEP 2: Make bootable usb.
You can use Rufus or universal usb creator, to create bootable windows usb. I used Rufus to create windows usb, and universal usb creator for Ubuntu usb.Make sure you are creating usb with Rufus with UEFI mode, as shown in screenshot.
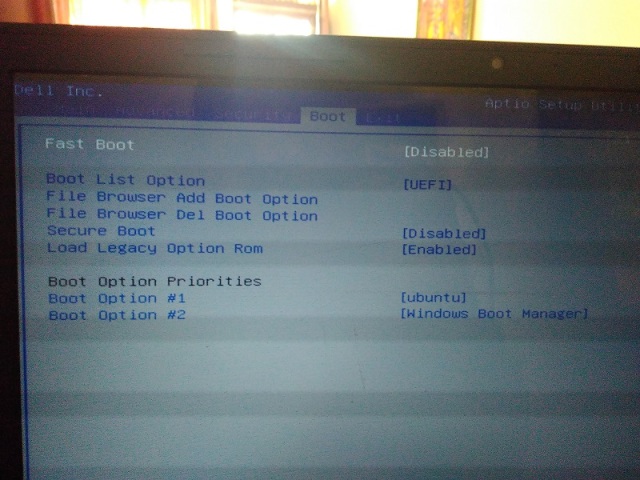
STEP 3: Change Bios Settings.
Reboot and press F2 repeatedly so that you boot into bios settings, there change Booting system from Legacy to Uefi, with secure boot off, as show in screenshot.
STEP 4: Convert Hard disk from MBR to GPT.
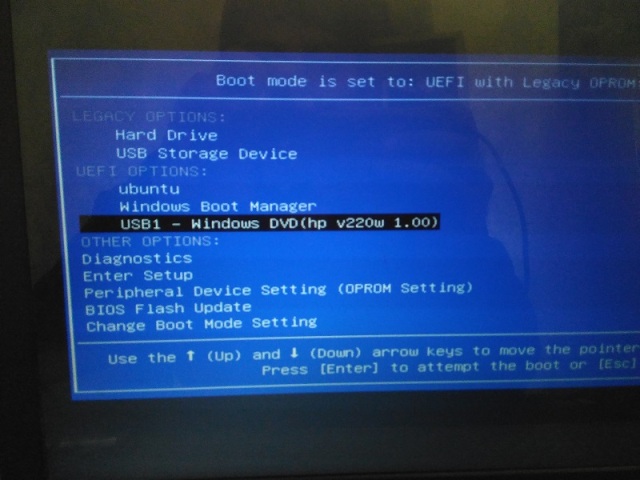
Now insert Windows DVD or USB, reboot and press F12 (F8 in some pc) repeatedly, to boot into boot menu, here you can see connected devices, and in UEFI supported bootable option, select the medium that can install windows.
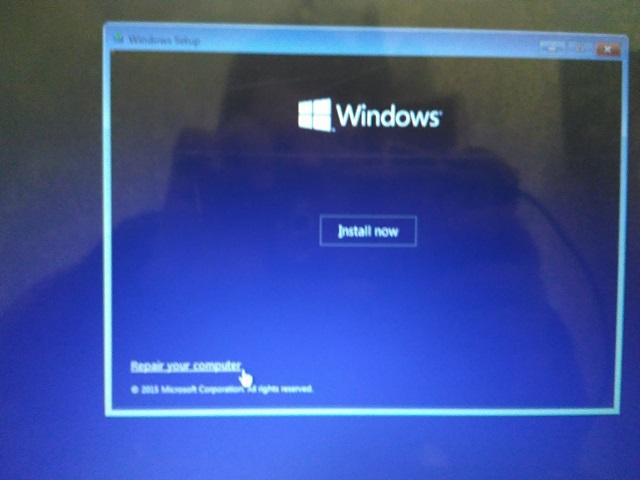
Accept and Click on Repair your Computer.

Now chose to troubleshoot, and reach command prompt, Type
DISKPART
This will launch disk utility, not to list disks type
LIST DISK
This would list the disks available in your computer, chose the disk to clean and convert and type
SELECT DISK=0
Here 0 is the disk I want to clean and convert, so be extra careful which disk you chose.
CLEAN DISK
CONVERT GPT
Now your disk is clean and ready for a fresh install. Exit all and reboot./p>
STEP 5: Installing Windows.
Boot again in install medium and click to install instead of repair. Agree terms, and click Custom install. Now create a partition with the volume you want your windows to occupy. I chose approx. 70GB.
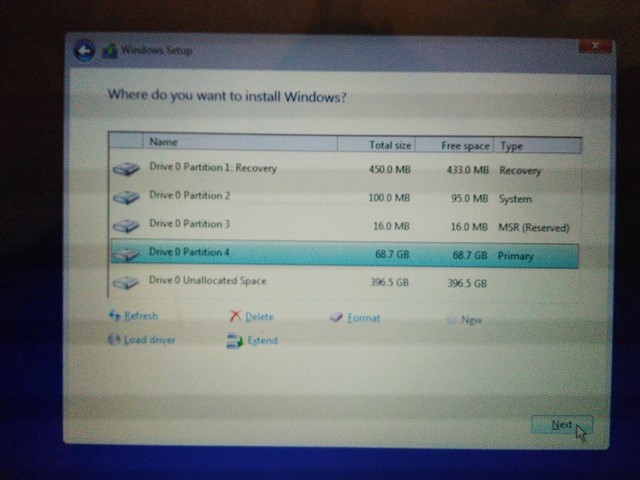
It will automatically create 4 partitions, select the largest one and click continue. Your windows would begin to install and reboot automatically. Let in boot as is. And you would reach few options, like username, password, and your windows would be install easily. You can also install ubuntu if you like. Check out my other tutorial for that.
[…] like in the previous post create your bootable USB with Ubuntu DVD or ISO. and boot your computer using QuickBoot […]
I need to to thank you for this great read!! I certainly enjoyed every little bit of it. I have got you book-marked to check out new things you postÖ
Hello there! I simply want to offer you a huge thumbs up for your excellent information you have here on this post. I will be coming back to your website for more soon.
An intriguing discussion is definitely worth comment. I do think that you should write more on this subject matter, it may not be a taboo matter but usually people dont discuss these issues. To the next! Many thanks!!